
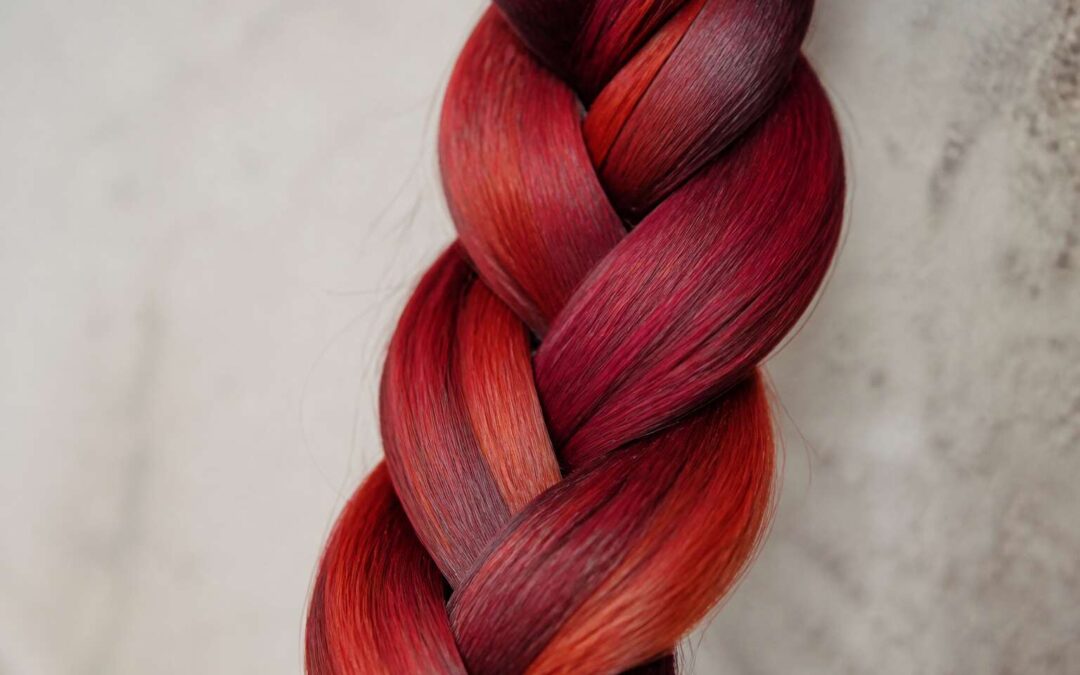
Choosing the Perfect Red Shade
Understanding Red Undertones
The gap between a good red and a great red is measured in undertones, not brightness. The right red hair extensions for braids can lift a tired complexion or quietly ruin an entire look. I remember watching a customer in Durban stare at a wall of reds, overwhelmed. She needed a mirror and honest light to see what her skin already knew.
Understanding red undertones starts with your own. Cool skin tends to carry pink or blue traces, so a cherry or wine red will harmonise. Warm skin glows with gold or olive, and copper or terracotta will sit better. Neutral skin can carry most reds, but burgundy often becomes the safest anchor.
When you shop for red hair extensions for braids, keep these families in mind:
- Cherry red for cool undertones
- Copper for warm undertones
- Burgundy for neutral undertones
A swatch on a screen never tells the truth. Hold the hair against your jaw in natural daylight, and the right shade will reveal itself without effort.
Matching Skin Tone
In Johannesburg’s heat, red hair extensions for braids should do more than look striking. They need to survive humidity and still hold their depth. When you match a shade to your skin, consider the light you live in most. Coastal light washes out pale reds. Highveld light sharpens them.
A quick method works well:
- Stand by a window with natural light
- Hold the extension against your jaw, not your arm
- Take a photo, then look at the photo, not the mirror
The photo removes the bias your eyes carry. If the shade makes your face look grey, move warmer. If it makes your skin look flushed, move cooler. Red hair extensions for braids should make your skin look clearer, not busier. That is the test that matters.
Natural vs. Vibrant Reds
Do you want your braids to start a conversation or end one? That is the first question for natural versus vibrant reds. Natural reds, like auburn or burnt copper, sit within your braids and fade slowly. Vibrant reds, such as cherry or electric scarlet, demand re-touches and pull the eye. In Pretoria’s harsh light, natural reds keep their warmth, while vibrant reds shift into orange without regular care.
- Go natural for a full schedule.
- Go vibrant for a daring weekend.
Your selection should serve your week. Red hair extensions for braids only work when you admit what you can handle. That is the honest truth. Pick accordingly.
Temporary vs. Permanent Dye Options
For about R450 a session, a salon tints your extensions. That money disappears within weeks! Temporary dye offers a cheaper start, but it behaves differently. In humid coastal cities like Durban, temporary reds can bleed onto your collarbone. They also transfer into your natural hair during summer storms.
The choice depends on how long your braids stay installed and the maintenance you accept. Here is the practical breakdown:
- Temporary stain: lasts 2 to 6 washes, good for sampling
- Semi permanent: fades in 4 to 8 weeks, no regrowth line
- Permanent tint: lasts until removed, needs stripping
Your red hair extensions for braids handle each option differently. Permanent dye alters the protein structure and can stiffen the strands. Temporary colour coats the surface and keeps the hair supple. In Gauteng’s dry climate, permanent dye demands weekly deep conditioning. Temporary formulas suit frequent style changes and lower budgets.
Types of Red Extensions for Braided Hairstyles
Synthetic vs. Human Hair
When you shop for red hair extensions for braids, the synthetic versus human hair debate shapes every decision. Synthetic fibres offer vivid, uniform colour and hold their shape, but they tangle and react poorly to heat. Human hair behaves like your own, allowing shade blending for natural depth, yet it demands a higher budget.
For braided styles, texture matters. Synthetic extensions often come pre-looped or pre-stretched, speeding up the process. Human hair lets you braid tightly without the plastic sheen that catches light unflatteringly.
Here is a quick comparison:
- Synthetic red extensions are lighter on the wallet and maintain curl.
- Human hair red extensions allow hot tool styling and last longer.
South African humidity makes synthetic fibres frizz quickly, so many braiders prefer human hair. The red hair extensions for braids you choose will determine the overall finish, from light reflection to the time between braiding sessions.
Clip-Ins vs. Wefts vs. Pre-Braided
Beyond the material debate, the form of the extension changes the braid’s very architecture. Clip-ins fasten with metal teeth, offering a red mane for a single evening, removed before sleep. Wefts demand needle and thread, a continuous sheet sewn into cornrows for a foundation that endures weeks. Pre-braided lengths arrive already twisted, their crimson strands ready to weave into place without extra tension on your fingers.
- Clip-ins suit fleeting occasions, easy to snap in and out.
- Wefts provide a seamless base for heavier, longer-lasting braids.
- Pre-braided red hair extensions for braids save hours of preparation.
Each choice alters the weight and drape of the final plait, so let the occasion dictate the form, from a single night’s drama to a month of enduring red hair extensions for braids.
Curly, Wavy, and Straight Textures
Texture dictates how your braids behave in Johannesburg’s humidity, and this matters more than most people assume. Curly red hair extensions for braids expand with moisture, creating a halo of volume that flatters rounder face shapes. Wavy textures hold a relaxed S pattern, perfect for knotless braids that sway without feeling heavy. Straight lengths demand precision; they show every twist, so your part lines must be immaculate from the start.
A useful rule for selecting among them:
- Curly: best for protective styles with minimal scalp tension.
- Wavy: ideal for moving between hot days and cool evenings.
- Straight: suits formal events where uniformity carries the look.
In my experience, texture also alters drying time and product buildup. Red hair extensions for braids in a tighter coil need more hydration than their silky counterparts, yet the visual payoff justifies the extra care.
Popular Red Color Patterns
In my salon work across Johannesburg, the type of braid often dictates the red extension’s success. Knotless braids let red hair extensions for braids move naturally, while chunky box braids hold a solid colour better. Neither is superior; it depends on your weekend plans.
Popular colour patterns have shifted toward dimension. Shadow roots with a fiery tip survive humidity without looking flat. I am seeing these patterns repeatedly:
- Ombre from dark cherry to bright copper
- Stripe placements where red alternates with black
- Fully saturated crimson with a gloss finish
The gloss finish matters in summer’s glare.
Length and Volume Considerations
Length changes a braid’s entire weight and silhouette. In my Johannesburg chair, I measure from the client’s hairline to the nape before ordering. That measurement, combined with the desired fall, tells us whether red hair extensions for braids should be 16 inches or 24 inches.
Volume depends on braid size. Small knotless braids need less bulk per section. Chunky jumbo braids require more packing. Pre-stretched red hair extensions for braids sit flatter and reduce tension, but they lose some fullness. Bulk packs offer more body, yet they need extra stretching preparation.
Types to consider:
- Pre-stretched: ready to braid, smooth finish.
- Pre-looped: quick for crochet installations.
- Bulk: maximum volume, requires prep.
Step-by-Step Installation for Braids
Prepping Natural Hair for Extensions
Prepping natural hair for braid installation is the difference between a style that lasts and one that unravels. Begin with a clarifying shampoo to strip away product residue. This is non negotiable for red hair extensions for braids, as oils can cause slippage. Towel dry, then apply a water based leave in conditioner.
Your hair must be completely dry before any extension touches it. Dampness leads to frizz and mildew. Divide your hair into four quadrants using hair clips. Work through each section methodically, detangling with a wide tooth comb. For extra grip, apply a thin layer of styling gel to the roots. This gives the braid a solid anchor.
- Smooth each strand with a boar bristle brush
- Twist sections away from the face
- Check for loose hairs before securing
Red hair extensions for braids rely heavily on this foundation. The prep work determines the final result more than the product itself.
Braiding Techniques That Hide Extensions
The difference between professional braids and DIY failures shows in the first inch of the root. I have watched red hair extensions for braids unravel because someone rushed the installation. Patience is not optional here.
Start at the nape and work upward. This order keeps tension even and hides every transition point. When you reach the crown, feed the extension into the braid at the root, never the midpoint. Cross the three strands evenly and the attachment disappears completely.
Here is the sequence that works:
- Anchor the extension with a tiny elastic band.
- Wrap a thin natural strand around the base to conceal the anchor.
- Braid downward with uniform pressure.
Red hair extensions for braids should sit flush against the scalp. No bumps. No gaps. The technique becomes invisible, and the colour does the talking!
Securing Extensions with Knots and Beads
The knot is where everything lives or dies. When I install red hair extensions for braids, I start with a secure three turn knot around the root, not a loose wrap.
- Divide the section cleanly and hold it taut.
- Loop the extension around the root once, then twice.
- Thread the end through the loop and pull slowly.
- Slide a small silicone bead over the knot to seal it.
Beads serve a purpose beyond decoration. They lock the knot in place. Once the bead sits right, I flatten it with pliers, never my teeth. The anchor stays firm for weeks. Red hair extensions for braids can shift if the knot is rushed, so I test each section with a gentle tug. No movement means the braid is ready.
Blending Extensions with Natural Hair
The real art of installation lies in blending the extension’s base with your natural roots. I always work in small, diagonal sections, never horizontal ones. This allows red hair extensions for braids to lie flat against the scalp, creating a seamless transition that survives even a humid afternoon in Durban.
- Part the hair along the braid’s natural path, matching the extension’s color depth to the root.
- Anchor the weft using the knot and bead method, ensuring the bead sits flush beneath the braid.
- Wrap the natural hair around the attachment point, covering it completely.
- Braiding downward with even tension, letting the red tones interlace with your darker strands.
When the braid reaches your ends, taper it by allowing the natural hair to thin out while the extension carries the color. I check every few centimeters by running my fingers along the braid. No ridges, no gaps. That is the signature of a proper blend.
Maintaining and Extending the Lifespan of Red Extensions
Washing and Conditioning Tips
Red hair extensions for braids need a delicate washing routine. I’ve learned that hot water strips the pigment faster than anything else. Use lukewarm or cold water to preserve the red tone. A sulfate-free cleanser works well, but avoid saturating the braid roots where the weft attaches.
Conditioning requires attention. Apply a lightweight leave-in conditioner only to the middle and ends of the extensions. Heavy creams leave a dull residue that reduces red vibrancy. Let the product sit for five minutes, then rinse thoroughly. Always squeeze excess water rather than wringing the braids. This maintains the fiber’s integrity.
Regular maintenance prevents tangles and fading. Red hair extensions for braids perform best when washed weekly with a hydrating mask every other wash. Store them dry and loose to retain their color.
Avoiding Fading and Color Stripping
Red hair extensions for braids fade fastest under the South African sun. Ultraviolet rays break down red pigment molecules faster than any other shade. I have watched braids turn dull in two weeks of daily outdoor exposure. The pigment sits near the surface, so it releases with every strong ray.
Chlorinated pools and ocean water strip the tone. Rinse braids with clean water before swimming. Heat tools above 180 degrees Celsius force the cuticle open, so keep the heat low and the time short.
Shorten the risk factors, and the red lasts longer. Here is a practical list:
- Cover the braids with a scarf during midday sun.
- Sleep on a satin pillowcase.
- Use your fingers or a wide tooth comb.
- Refresh with a color depositing conditioner every ten days.
Red hair extensions for braids reward consistent care. The color will not return once it fades. Every day of protection counts.
Detangling and Brushing Best Practices
Red hair extensions for braids demand a gentle hand when the strands tangle. I have learned that yanking a comb through knotted synthetic or human hair is the fastest way to ruin the cuticle. Start from the tips and work upward, holding the braid firmly above the section you are detangling. This prevents the tension from pulling at the roots.
A wide tooth comb or your fingers work best for daily upkeep with red hair extensions for braids. A boar bristle brush can help, but only on the loosest sections. Never brush wet extensions unless you have applied a leave in conditioner. Wet hair stretches and snaps.
- Detangling every two days prevents matting.
- A light detangling mist before each session helps.
- Small sections from bottom to top reduce breakage.
When you treat the strands with this level of care, the color stays rich and the braids remain tidy.
Storing Extensions Between Uses
Red hair extensions for braids can survive a full year of wear when stored properly between sessions. Most people discard them at the first hint of frizz because they never learned to rest them correctly. In my experience, the way you store them matters as much as the braiding itself!
Keep each set separated in a silk pouch or a breathable cotton bag. Never leave them tangled in a drawer or hanging where sunlight can reach them. Heat and UV light drain the copper tones from red hair extensions for braids. A cool, dark cupboard suits the South African climate.
Rotate two sets if you wear braids often. A full week of rest prevents the strands from weakening. The following habits also help.
- Fold the hair into loose loops, never tight knots.
- Put tissue paper around the roots to prevent crimping.
Refreshing the Red Hue at Home
The lifespan of red hair extensions for braids hinges not on durability alone, but on chromatic vibrancy. As weeks pass, the copper tones surrender to sunlight and repeated shampooing. At-home refreshment emerges as a practical ritual for those who dread salon visits. Deposit-only color glosses reapply pigment without ammonia, saturating each strand with a translucent veil of crimson. Yet, the South African water supply, often high in mineral content, can oxidise these dyes unpredictably.
A practitioner must test a small weft before committing, measuring how the shade settles. Alternatively, diluted henna masks offer a botanical route,tinting the red hue gradually. But henna’s permanence complicates future recolouring, locking the cuticle into a rigid state. Each method demands humility: red hair extensions for braids whisper their limits,and the braider listens.
Knowing When to Replace Extensions
Most braided styles with red hair extensions for braids survive six to eight weeks before the cuticle shows wear. Their lifespan depends on how the strands endure tension at the root and friction against collars or scarves. Once the red hue fades beyond the point of at-home glossing, examine the fibre itself.
- Check for split ends along the weft.
- Feel for rough, stiff sections that resist finger combing.
- Look for excessive shedding at the braid seals.
If the extension mats at the nape or loses its bounce, replacement is overdue. Keeping a spare pack allows you to swap out only the damaged pieces, preserving the overall style and saving money.